As homeowners, we cherish our gardens and strive to keep them in top shape. While levelling a garden may seem like a daunting task, trust us—it’s well worth the effort. Not only does it simplify garden maintenance, but it’s also a valuable skill that can save you money if you enjoy DIY projects. Plus, when the job is complete, it often boosts the value of your property, making it a worthwhile investment.
Curious about how to level your garden? Keep reading to discover the step-by-step process.
What is garden levelling?
Garden levelling is the process of making the ground in your garden or yard flat and even. It’s like giving your garden a smooth makeover, ensuring that there are no lumps, bumps, or uneven areas. This task might sound simple, but it involves several steps and considerations to achieve a balanced and aesthetically pleasing result.
First off, why level your garden? Well, a level garden not only looks better but also makes maintenance easier. It provides a stable foundation for various activities like planting, mowing the lawn, or even setting up outdoor furniture. Plus, it helps with drainage, preventing water from pooling in certain areas and causing problems like soil erosion or waterlogging.
Now, let’s break down the process of garden levelling into simple steps:
- Assessment: Begin by assessing your garden’s current state. Identify any high spots, low spots, or uneven areas. These could be caused by factors like natural settling, erosion, or previous landscaping.
- Gather Tools: You’ll need some basic tools for garden levelling, such as a shovel, rake, wheelbarrow, and a long piece of wood or a levelling tool.
- Remove Debris: Clear the area of any debris like rocks, branches, or old garden structures. These can interfere with the levelling process and create obstacles.
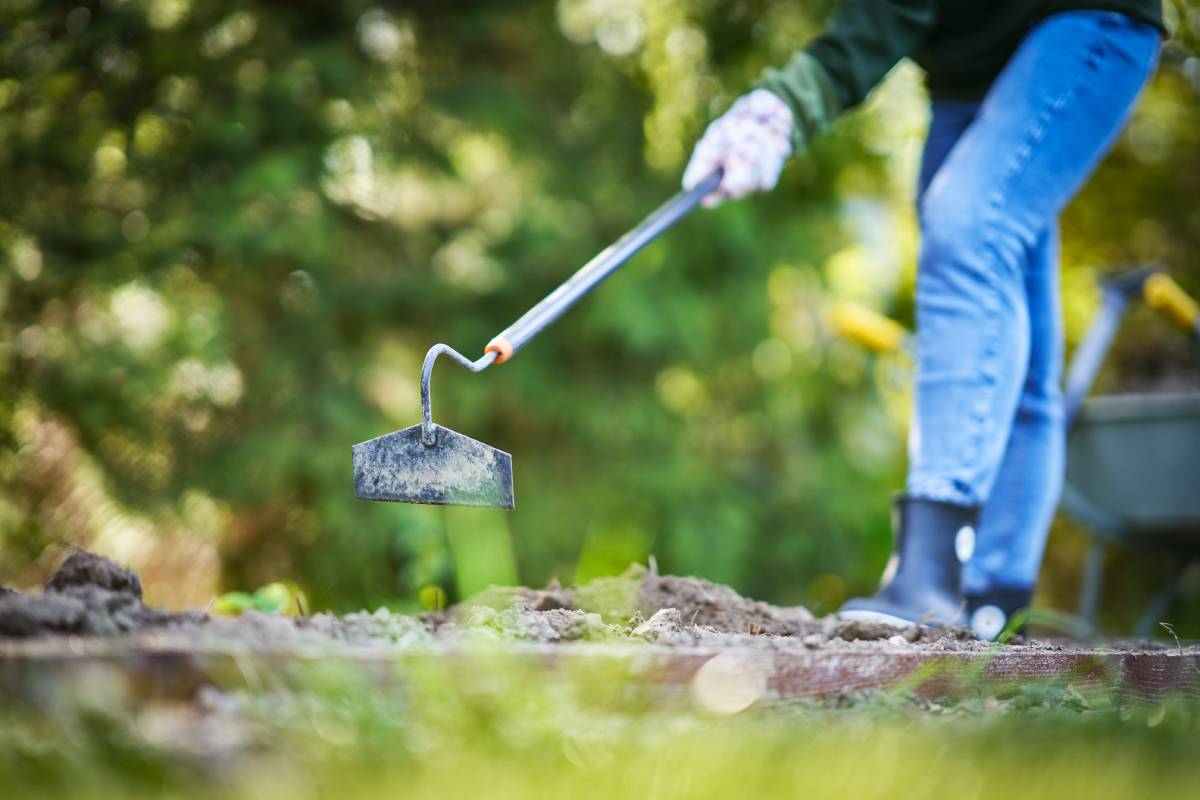
- Adjust High Spots: If there are high spots, use a shovel to dig into them and redistribute the soil to lower areas. Repeat this process until the surface is relatively even.
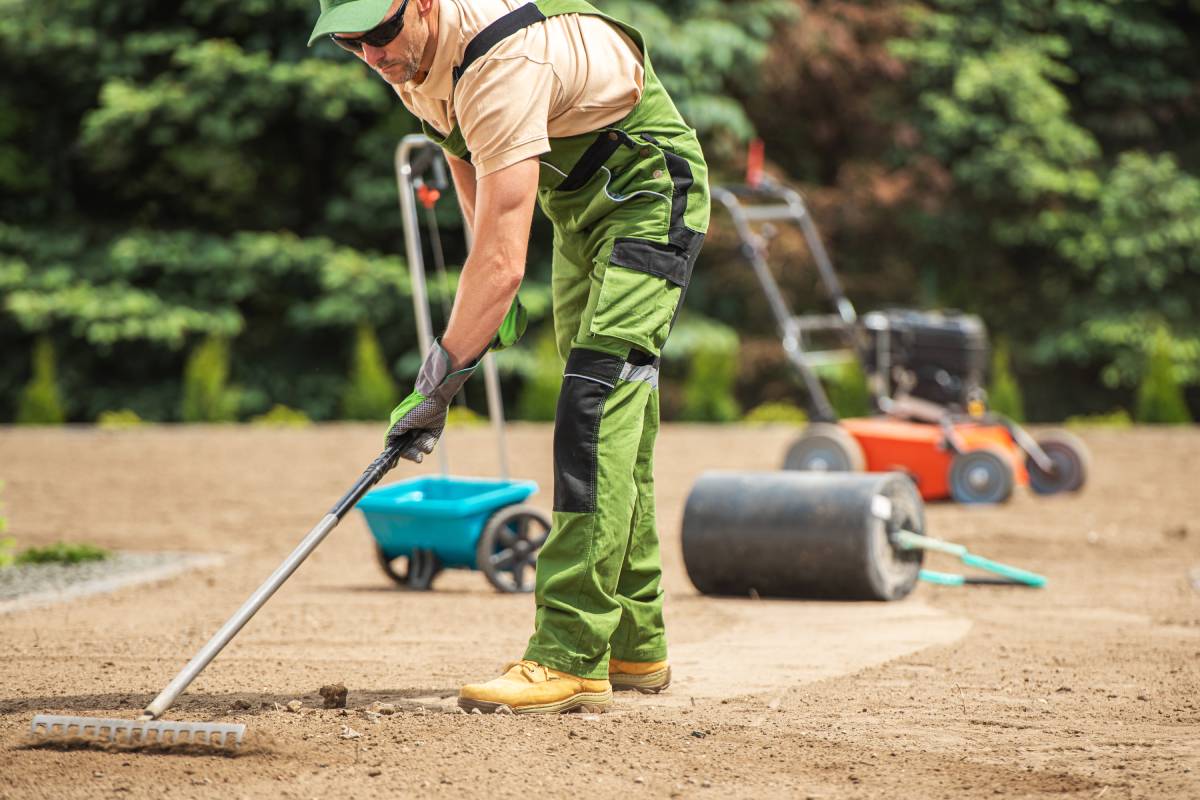
- Fill Low Spots: For low spots, add soil or compost to fill them up (which could also help balance soil pH levels). Spread the soil evenly with a rake to match the surrounding area’s level.
- Compact Soil: After adjusting the ground, use the back of a rake or a tamper to lightly compact the soil. This helps to stabilize the surface and prevent future sinking.
- Check for Level: Use a long piece of wood or a levelling tool to check the garden’s surface for level. Adjust as needed until you achieve a uniformly flat area.
- Watering and Settling: Water the levelled area lightly to help the soil settle. This step is crucial for ensuring long-term stability.
- Final Touches: Once the soil has settled, give the surface a final check for any unevenness. Make minor adjustments if necessary.
- Consider Drainage: Lastly, consider the garden’s drainage. Ensure that water flows away from buildings and doesn’t collect in low spots. You may need to create gentle slopes or install drainage solutions like French drains.
Remember, garden levelling is not a one-time task. Over time, the ground may settle, and new unevenness could develop. Regular maintenance and occasional touch-ups will help keep your garden’s surface smooth and level.
What do I need for garden levelling?
For garden levelling, you’ll need a few basic tools and materials to get the job done effectively. Here’s a list to help you prepare:
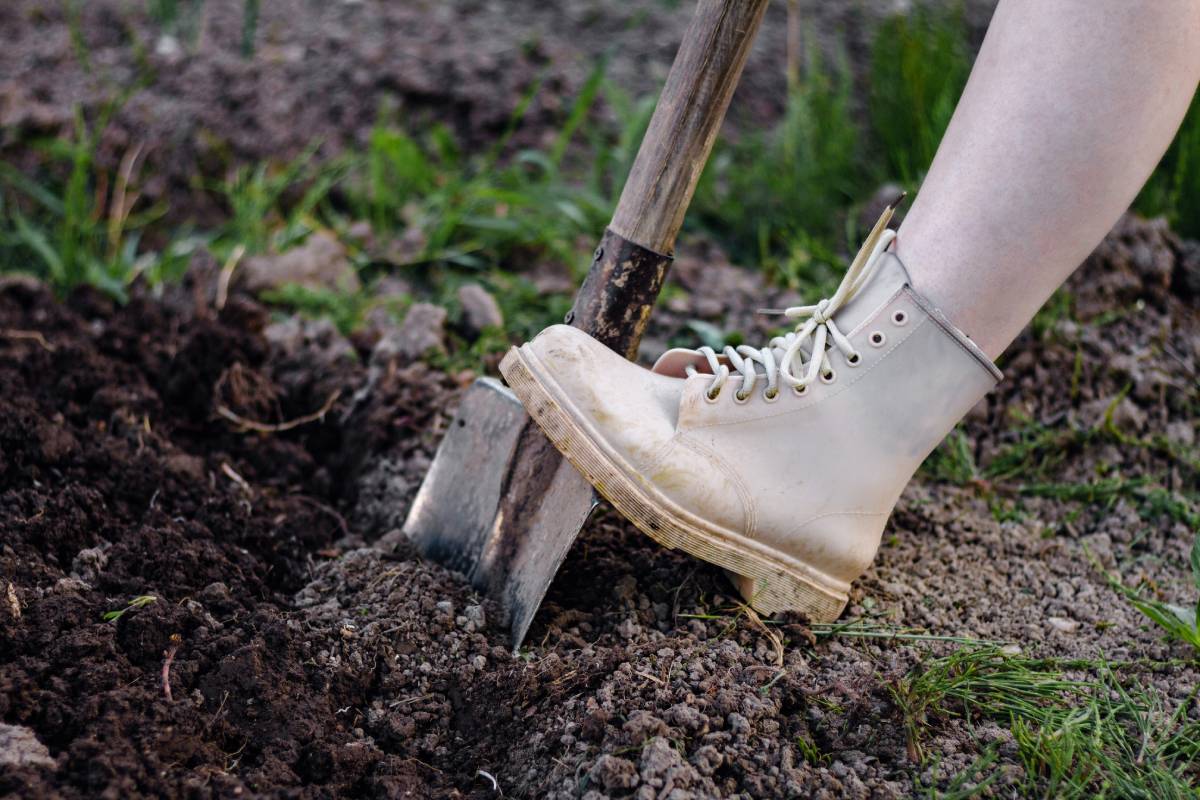
- Shovel: A sturdy shovel is essential for digging, moving soil, and adjusting the ground’s surface.
 Rake: A garden rake will help you spread soil evenly, smooth out bumps, and create a uniform surface.
- Wheelbarrow: Use a wheelbarrow to transport soil, compost, or any debris removed from the garden area.
- Levelling Tool: This could be a long piece of wood, a straight board, or a specialized levelling tool to check the surface for evenness.
- Soil or Compost: You may need extra soil or compost to fill in low spots and create a level surface.
- Tamper: A tamper or the back of a rake can be used to lightly compact the soil after levelling, ensuring stability.
- Water Source: Access to water is crucial for watering the soil to help it settle after levelling.
- Safety Gear: Wear appropriate clothing, gloves, and footwear to protect yourself while working in the garden.
- Optional: Drainage Solutions: Depending on your garden’s layout and drainage needs, you may require additional materials such as gravel for French drains or landscaping fabric.
Having these tools and materials on hand will make the garden levelling process smoother and more efficient, allowing you to achieve a well-levelled and aesthetically pleasing outdoor space.
Should I level my garden myself or should I hire a professional?
Whether to level your garden yourself or hire a professional depends on various factors, including your budget, time availability, skill level, and the complexity of the job. Here are some considerations to help you decide:
Levelling Your Garden Yourself
- Cost: Doing it yourself can save you money, as you won’t have to pay for professional services.
- DIY Skills: If you’re comfortable with basic landscaping tasks and have experience working with tools, levelling your garden yourself can be a feasible option.
- Control: You have full control over the process, from planning to execution, allowing you to tailor the project according to your preferences.
- Learning Experience: Undertaking the project yourself can be a valuable learning experience, helping you gain new skills and knowledge about gardening and landscaping.
- Time Commitment: Be prepared to invest time and effort into the project, especially if your garden requires significant levelling or if you encounter unexpected challenges along the way.
Hiring a Professional
- Expertise in Measurements and Specifications: Professionals have the know-how to accurately measure the slope of your garden and determine the necessary specifications for retaining walls. This ensures that your garden can withstand changing weather conditions over the years.
- Access to Equipment: Professionals have access to specialized equipment such as bulldozers, bobcat machines, and excavators, making the levelling process quicker and more efficient.
- Soil Quality Assessment: Professionals can quickly assess the quality of soil in your garden and take necessary steps to improve it, promoting healthy plant growth.
- Erosion Protection: They know how to protect areas prone to soil erosion and can efficiently source dirt fill and topsoil as needed.
- Permit Assistance: Professionals are familiar with the necessary permits and permissions for garden-levelling projects and can help you navigate the process of acquiring them.
Cost of garden levelling
Garden levelling costs can vary depending on the extent of the work needed. For minor tasks, the cost might be around $500, while for more extensive projects on residential properties, it could range from $1,000 to $6,000.
Factors affecting cost
Several factors influence the cost of garden levelling:
- Garden Size and Accessibility: The size of your garden and its accessibility can impact the cost. Larger areas require more time, manpower, and possibly larger equipment, which can increase expenses.
- Slope, Soil, and Terrain: The complexity of the slope, soil quality, and terrain affect the project’s complexity and materials required. Steeper slopes and obstacles like trees or rocks may increase costs.
- Materials and Equipment: The type and quality of materials, such as topsoil and retaining wall materials, influence costs. Additionally, the need for specialized equipment can add to expenses.
- Location: The cost of garden levelling may vary depending on your location and the rates of local service providers. Larger companies may charge a premium compared to local gardeners.
To wrap it up, while hiring a professional for garden levelling may initially seem more costly, their expertise, access to equipment, and ability to ensure quality results make it a worthwhile investment for achieving a well-levelled and functional outdoor space.